Juhendid teemade kaupa - Guides by topic
Page History
Planeerimine - lisamine, eemaldamine, registreerimine
| Info |
|---|
Ainekava Õppeaine planeerimijasse lisamise eelduseks on see, et ainele on tehtud sobivaks õppeaastaks ja semestriks ainekavaversioon, mis on registreerimiseks avatud. |
| Warning |
|---|
| Ainete lisamine planeerijasse ei asenda registreerumist ning ei anna selleks mingeid eeliseid. |
| Info |
|---|
|
Semestri valimine
Esmalt veenduge, et valitud oleks see semester, mille ainekavasid õppeaine versioone soovite planeerijasse lisada. Vaikimisi valitud semestrit saate muuta Õppeainetele registreerumine pealkirja all sobiva semestri nupule vajutades (vt joonis).

Aine lisamine planeerijasse
Kui soovite ainele ainesse registreerumise osas otsustada hiljem, võib lisada ained Planeeritud ainete hulka. Selleks täitke otsingutulemuse ees märkeruut ning vajutada nupule Lisa planeerijasse (vt joonis).

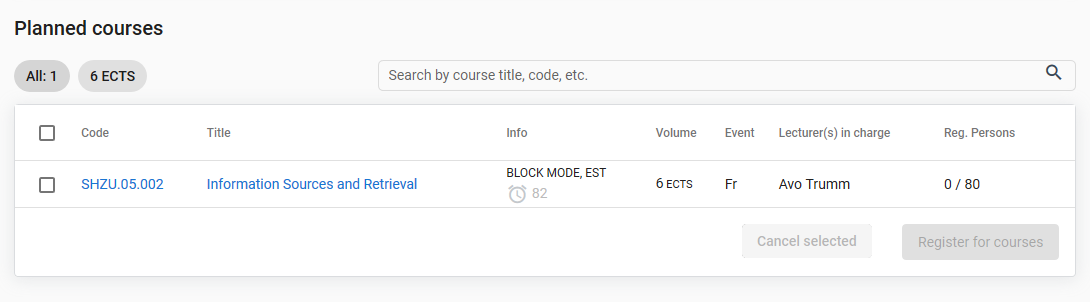
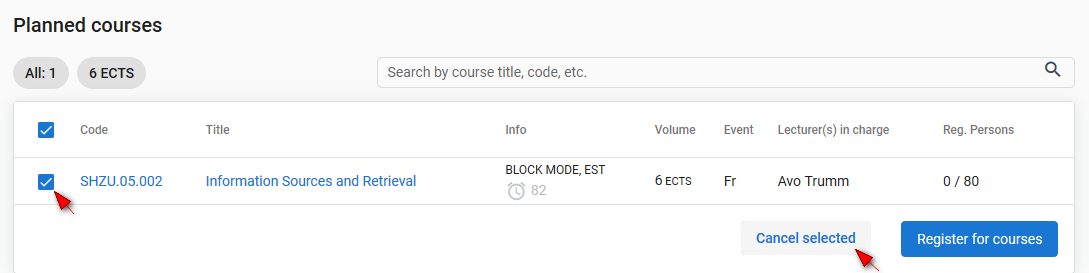
Ained lisatakse Planeeritud ainete plokki (vt joonis).

Õppeaine reale vajutades on võimalik liikuda ainekava andmetele õppeaine versiooni andmete ning aine üldandmeteleüldandmete vaadetesse.
Registreerumine
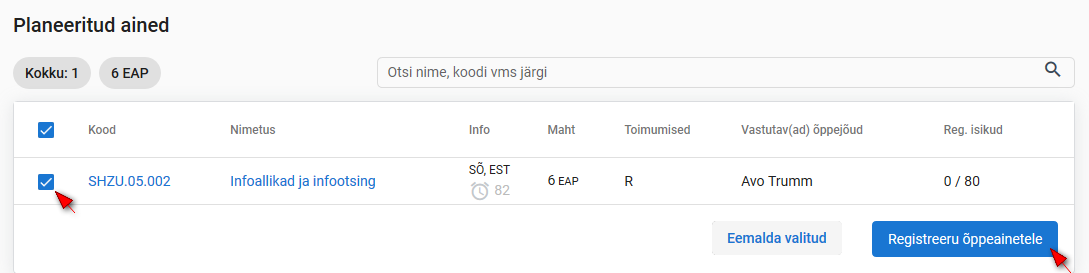
Planeeritud ainete hulgast ainetele ainetesse registreerumiseks täitke vastavas plokis soovitud aine ees märkeruut ning vajutage nupule Registreeru õppeainetele. Ained liigutatakse Registreeritud ainete plokki.
Eemaldamine
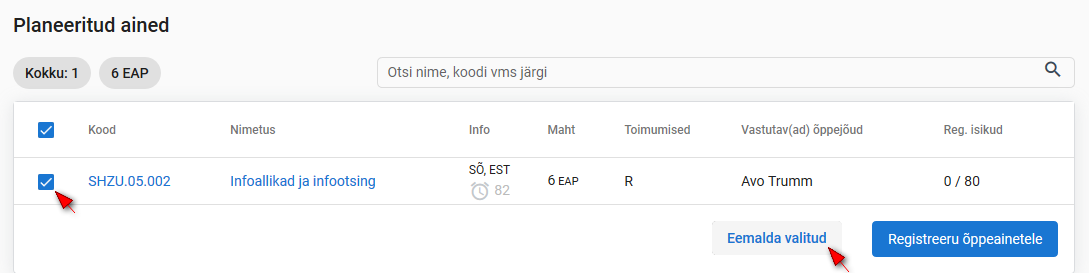
Planeeritud aine eemaldamiseks täitke planeeritud ainete plokis soovitud aine ees märkeruut ning vajutage nupule Eemalda valitud (vt joonis).
SEOTUD TEEMAD
Planning of courses - adding, cancelling and registration
| Info |
|---|
A precondition for adding a syllabus to planner is that a syllabus has been made for the course for the appropriate academic year and semester, and it is open for registration. |
| Warning |
|---|
Adding of courses to the planner does not replace registration and does not give any advantages for it. |
| Info |
|---|
|
Choosing a semester
First, make sure that the semester whose course syllabi you want to add to the planner is selected. You can change the default semester by clicking on the button for the appropriate semester under the heding Registration for courses (see figure).

Adding a course to planner
If you wish to decide on registration for courses later, you can add courses among Planned courses. Fill the checkboxes in front of the courses displayed in search results, and click the button Add to planner (see Figure).

The courses are added to the Planned courses block (see Figure).
By clicking on the course line, you can move to syllabus information and general information on the course.
Registration for the course
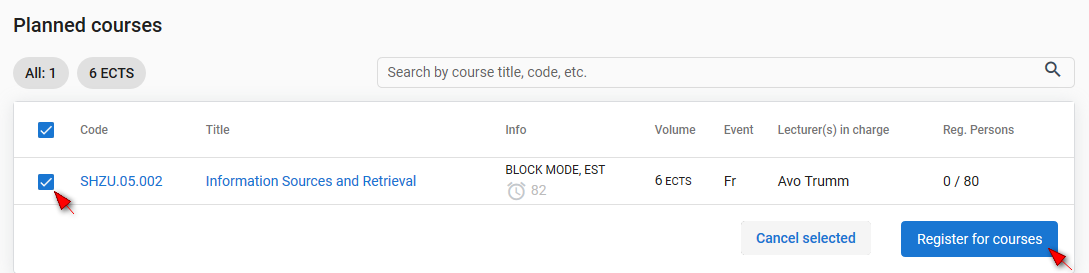
For registration for the planned courses, fill the checkbox in front of the course and click the button Register for courses (see Figure). Courses are moved to the Registered courses block.
To cancel a planned course,fill the checkbox in front of the course in the planned courses block and click the button Cancel selected (see Figure).
RELATED TOPICS
Overview
Content Tools