
In this guide, you will find instructions about setting up Apple Mail on Mac.
| HTML Wrap | ||
|---|---|---|
| ||
| Note | ||
|---|---|---|
| ||
|
| Table of Contents |
|---|
Introduction
This guide is designed to set up Apple iCloud Mail for Macbook Air, Macbook Pro, iMac and Mac Studio.
| Note |
|---|
When using cloud service, applying two-factor authentication is mandatory: Activating two-factor authentication. |
Setting up
- From the applications toolbar, select Mail.
- In the opened window, select Microsoft Exchange and click Continue.

- Fill in the fields as following:
- Name: your name as "Tuuli Tudeng"
- Email Address: UT username as "tuuli.tudeng@ut.ee"
- Then click Sign In.

- Sign in to your Exchange account using Microsoft. To confirm, select Sign In.

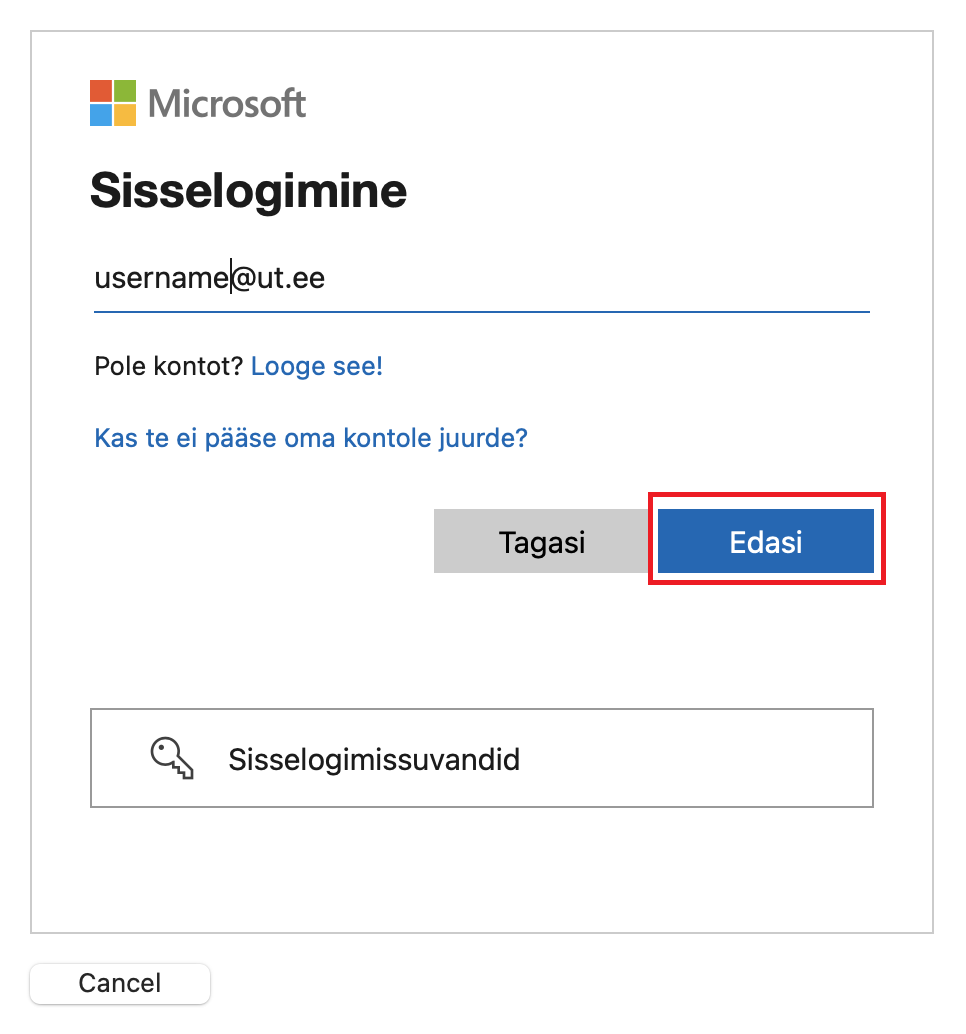
- The Microsoft sign in window opens. Enter the username as "tuuli.tudeng@ut.ee" and then press the Edasi button.
- Enter the password and press the Sisselogimine button.

- NB! If you already have 2FA authentication, you will also be asked to confirm your login.
Enter the two-step authentication code (e.g. from SMS or the Microsoft Authenticator application)and press the Kinnita.
- The Apple iCloud Mail application asks for permission to use your data. Press Nõustu to accept..

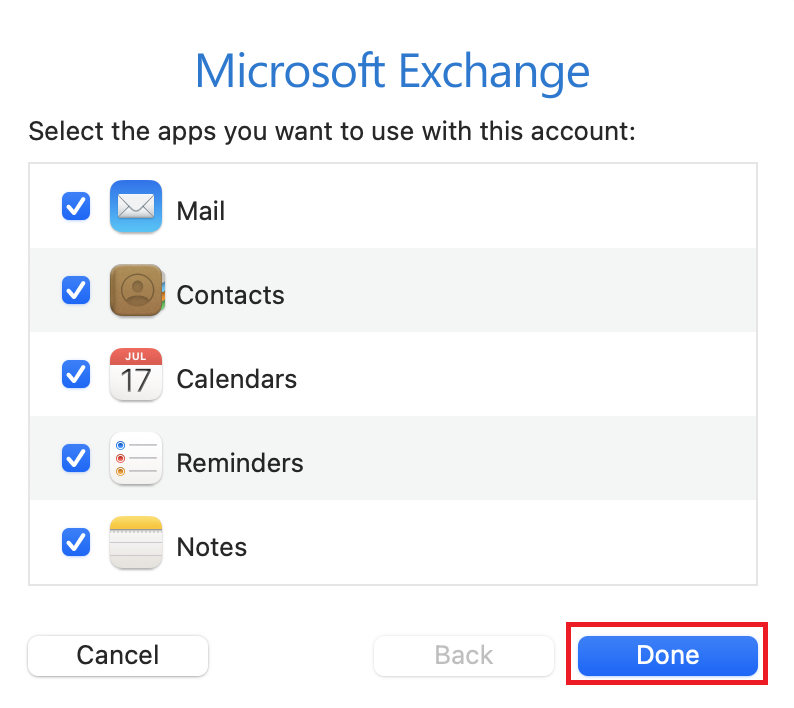
- Select the apps you want to use with your Microsoft Exchange account, then click Done.
- The latest updates are displayed, press the Continue button to proceed.

- To protect e-mail activity (hides the IP address and downloads e-mail content privately), select Protect Mail activity and press Continue.

- The UT mailbox has been successfully set up in the Apple iCloud Mail application.
