In this guide, you will find instructions on how to use the Scan and Send function of the cloud printer.
| HTML Wrap | ||
|---|---|---|
| ||
| Expand | ||
|
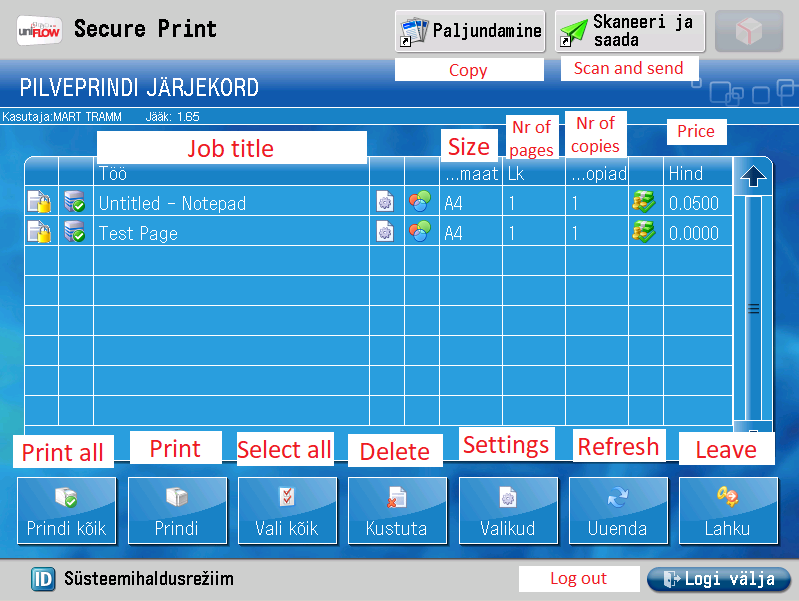
- After logging in and choosing a payment method, the Secure Print window will appear by default:
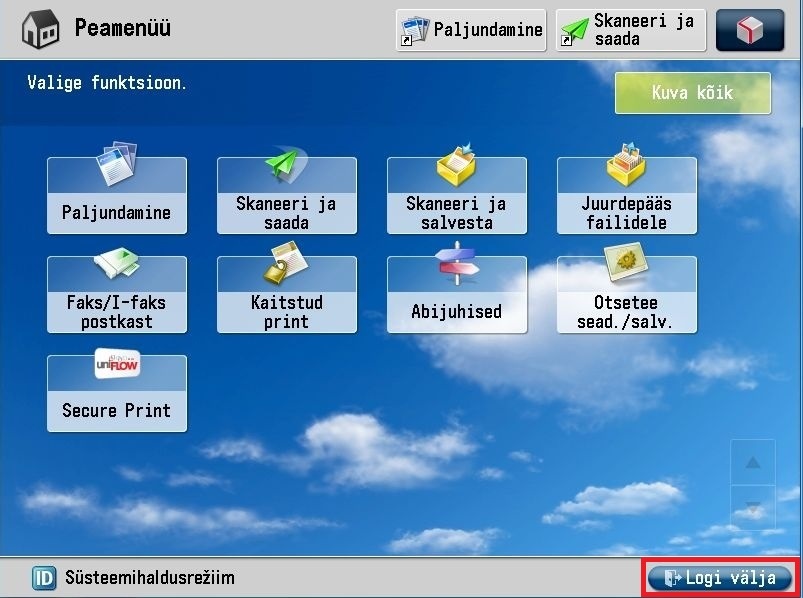
- To scan, click the "Scan and send" button above.

- A window opens:

- To send the document to your university e-mail, select "Saada minule"("Send to me")
Your e-mail is available in the database.
- Select a contact and click on it (in this case it only shows yourself as contact).

- Press the green Start button on the panel -> select Original Format -> OK.
Scanning is in progress /->if there are more than one pages to repeat /-> Start sending
- Enter the amount of pages you would like to send and click "Alusta saatmist"("Start sending").

- At the end, it is recommended to log out of the printer by clicking "Logi välja"("Log out"). After some time, automatic logout also occurs.