Page tree

University of Tartu IT wiki

Versions Compared

Key

  • This line was added.
  • This line was removed.
  • Formatting was changed.

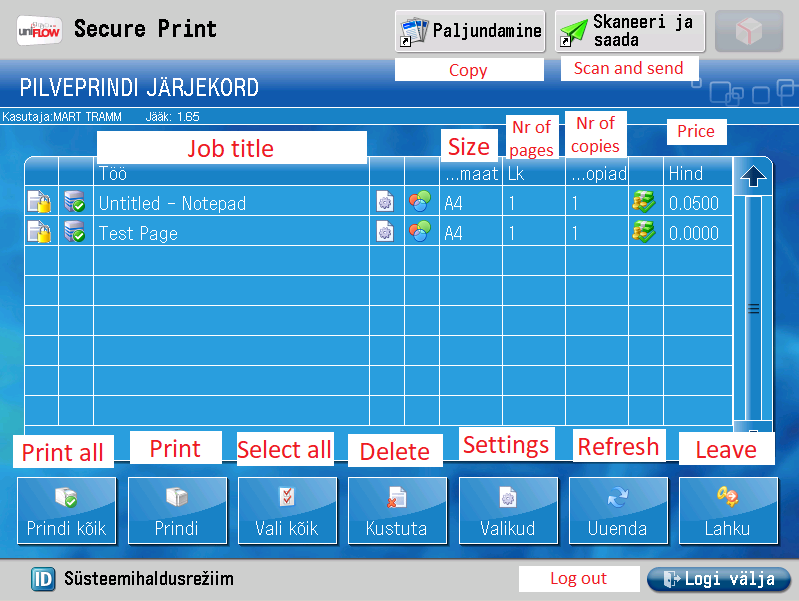
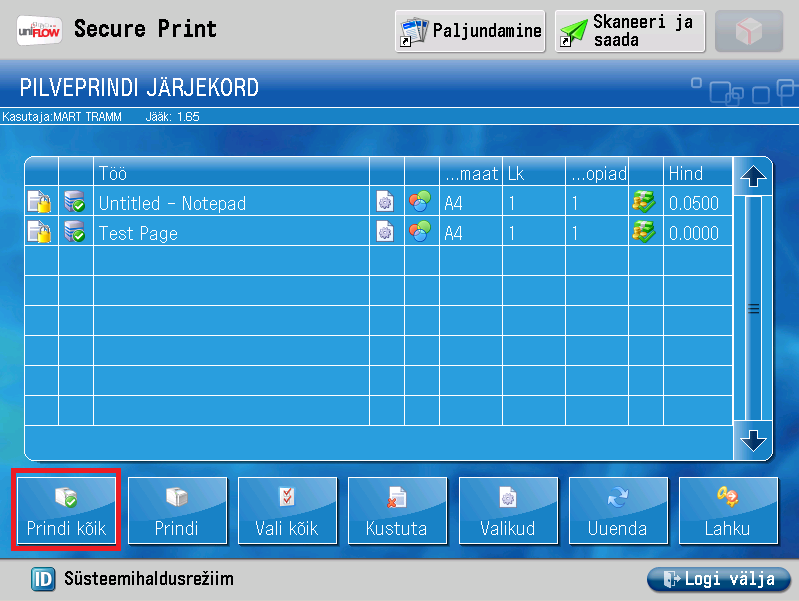
In this guide, you will find instructions on how to log in and print from a cloud printer.

HTML Wrap
classbutton button1

(info) Eesti keeles

Note

Eestikeelne versioon asub siin: Turvaprinter ja sellesse logimine.

Table of Contents

Introduction


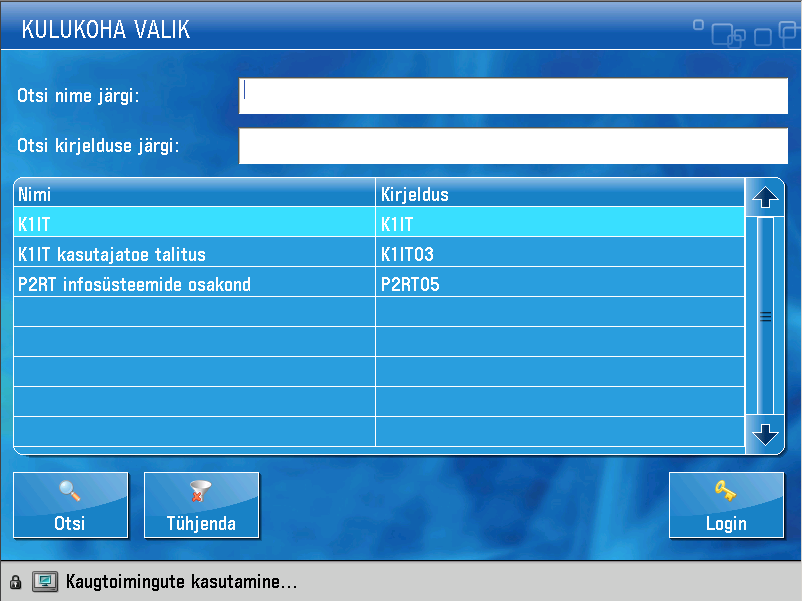
To login, you will need to use one of these options: 

  • For students: ID-card + PIN1
  • For employees: door card or ID-card + PIN1

Guides


Expand
titleLogging in
  1. In the picture above, you see the general layout of the printer.
    Image Modified
    NB! Printer models may vary depending on the location
. See the full list of printers with their models here


  1. If the screen is "off", wake up the machine with the "ON/OFF" button on the panel.
  • Default screen when "waking up" the printer: 
    Image Removed
    1. To start using the printer, you will need to identify yourself with an ID-card + PIN 1 or door card.
      Default screen when "waking up" the printer:
      Image Added
    2. When first using the printer, you will have to set up your profile.
      You will need to fill two fields: 
      Kasutajanimi - username
      Parool - password
      Image Modified
      NB! You have to do this only once when first using the printer. 
    3. When entering your data, you will be presented with an on-screen-keyboard
      Image Modified
    4. For more information, check Entering UT information systems.


    Expand
    titlePrinting
    1. If there is only one cost point, the cost point window does not appear
    2. If the windows opens, to start printing
    To print
    1. , you will have to select a payment method.
      For those who have several cost centers (personal and departmental), the KULUKOHA VALIK (COST CENTER SELECTION) window opens:
    Image Removed
    1. Choose one of them (employees - as a rule, use your department) and click on it.
    If there is one cost point, the cost point window does not appear and by
    1. After choosing click Login
      Image Added
    2. By default the SECURE PRINT window opens immediately:
      Image Modified
      If you want to print or delete, you must first select the corresponding job(s) and then print or delete.
    3. If you select "Prindi kõik"("Print all"), everything will be printed and
    they
    1. the jobs won't be waiting anymore. The waiting time is 48 hours.
      Image Modified
    2. To use other services, see instructions:
    Turvaprinteriga paljundamine, Skaneeri ja saada või Kodu
    1. Copying, Printing via e-mail and/or Scanning and sending.
    2. To open the main menu, click the "Lahku"("Leave") and "Kodu"("Home") button
      Image Added
      Image Modified
    3. To view all options, click "Kuva kõik"("View all").
      Image Modified
    4. After you finish printing, click the "Logi välja"("Log out") button. After some time, automatic logout also occurs.
      Image Added